
I enjoy DIY, and I like having control over the things I use. With a water purifier, I want a say in how it’s put together, which replacement parts it uses, and how its controller works.
The starting point was an everyday problem at home. Buying large bottles of drinking water gets expensive over time, and relying on them is inconvenient for my household. I’m also concerned about our tap water and don’t feel comfortable drinking it as it is.
A ready-made purifier was an option, but the systems I was considering raised another concern: the ongoing cost. The purchase prices were already higher than I wanted to pay, and the replacement filters were specific to those systems. Choosing a purifier also meant committing to its consumables and the expense of replacing them.
I wanted more freedom to choose the parts and consumables myself. Together with my interest in DIY, that led me to a reverse-osmosis (RO) build. Being able to understand and make changes to the system was also part of the appeal.
The controller I use now
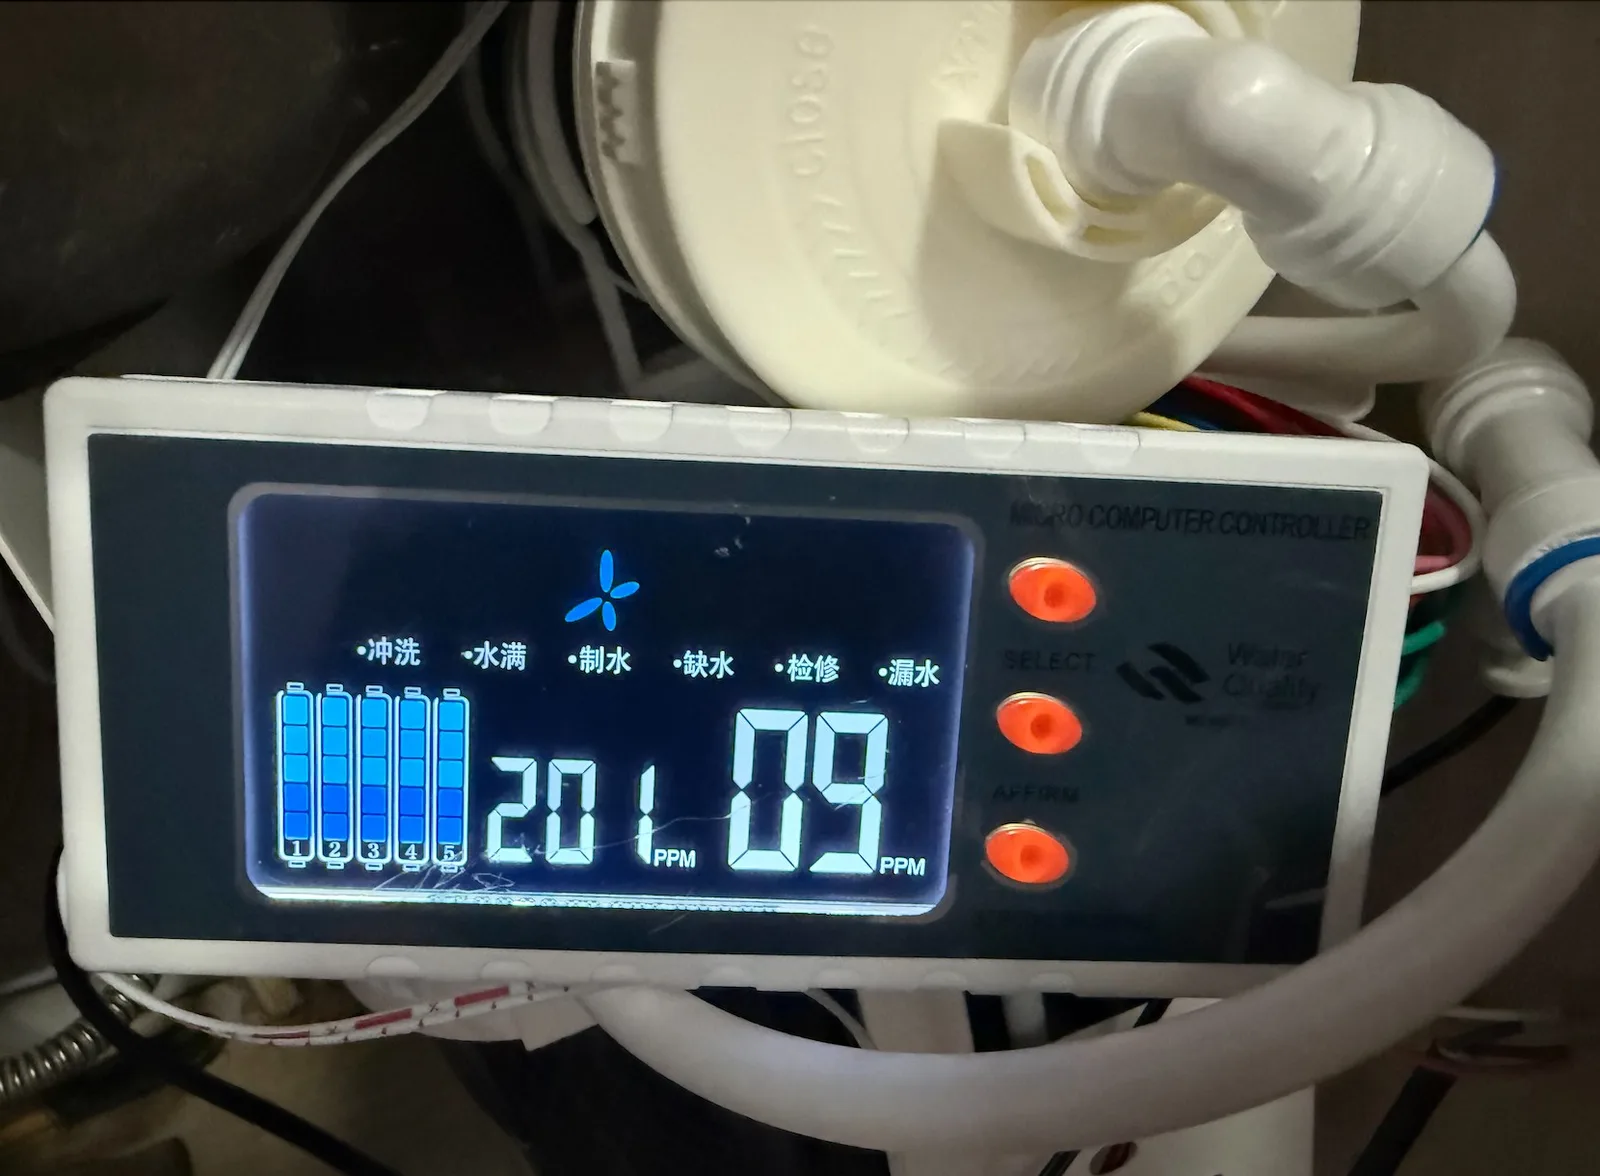
The off-the-shelf controller currently installed in my RO water purifier.
I currently use an off-the-shelf RO controller with a local display. What I want to add is Home Assistant integration: a way to see the purifier’s operating status alongside other devices in a smart home, and more control over how the controller behaves.
My current setup doesn’t give me the smart-home integration I’m looking for. That is the limitation I want to address with this new controller.
So the project grew from assembling a DIY purifier into working on a smarter controller for it.
Starting with an open-source board
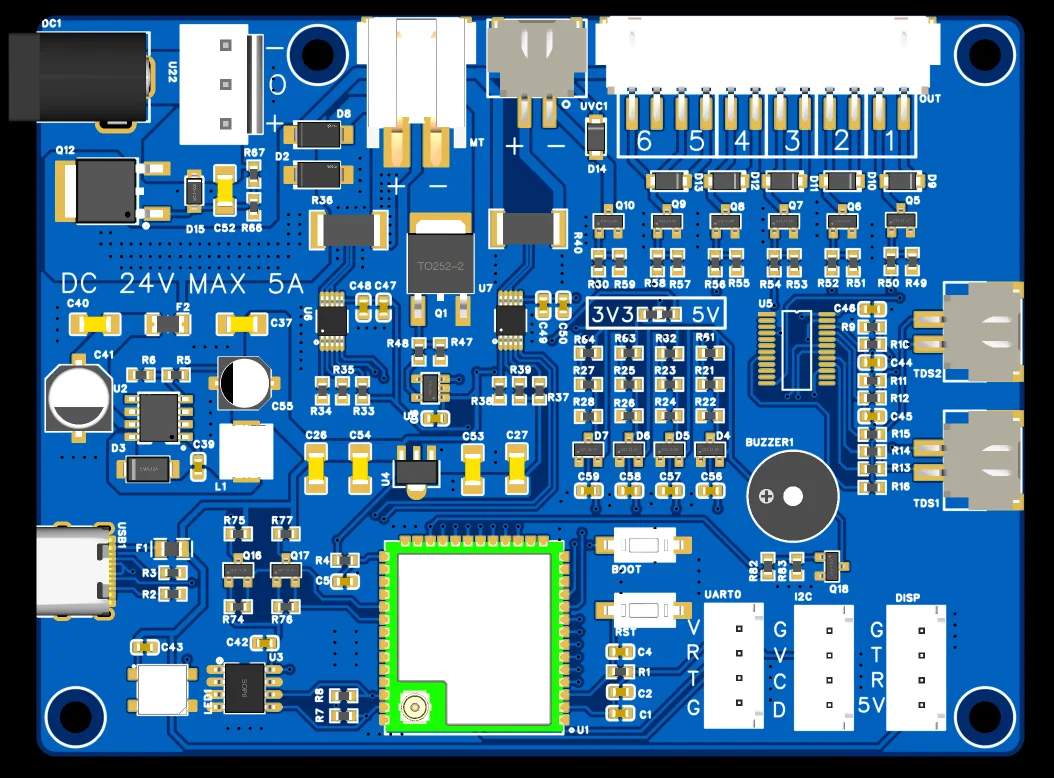
For the hardware, I’m starting with yuunt’s open-source water purifier controller design, using the version labelled youth, or “Youth Edition.” The board design comes from that project. My work starts with assembling the boards, developing the firmware, and testing the result. I’ll document any changes I make to the original design.
I’ve had a few prototype PCBs made, and I’m now soldering the components onto them. This new controller is still at the assembly stage, with firmware, Home Assistant integration, and testing in the purifier still ahead.
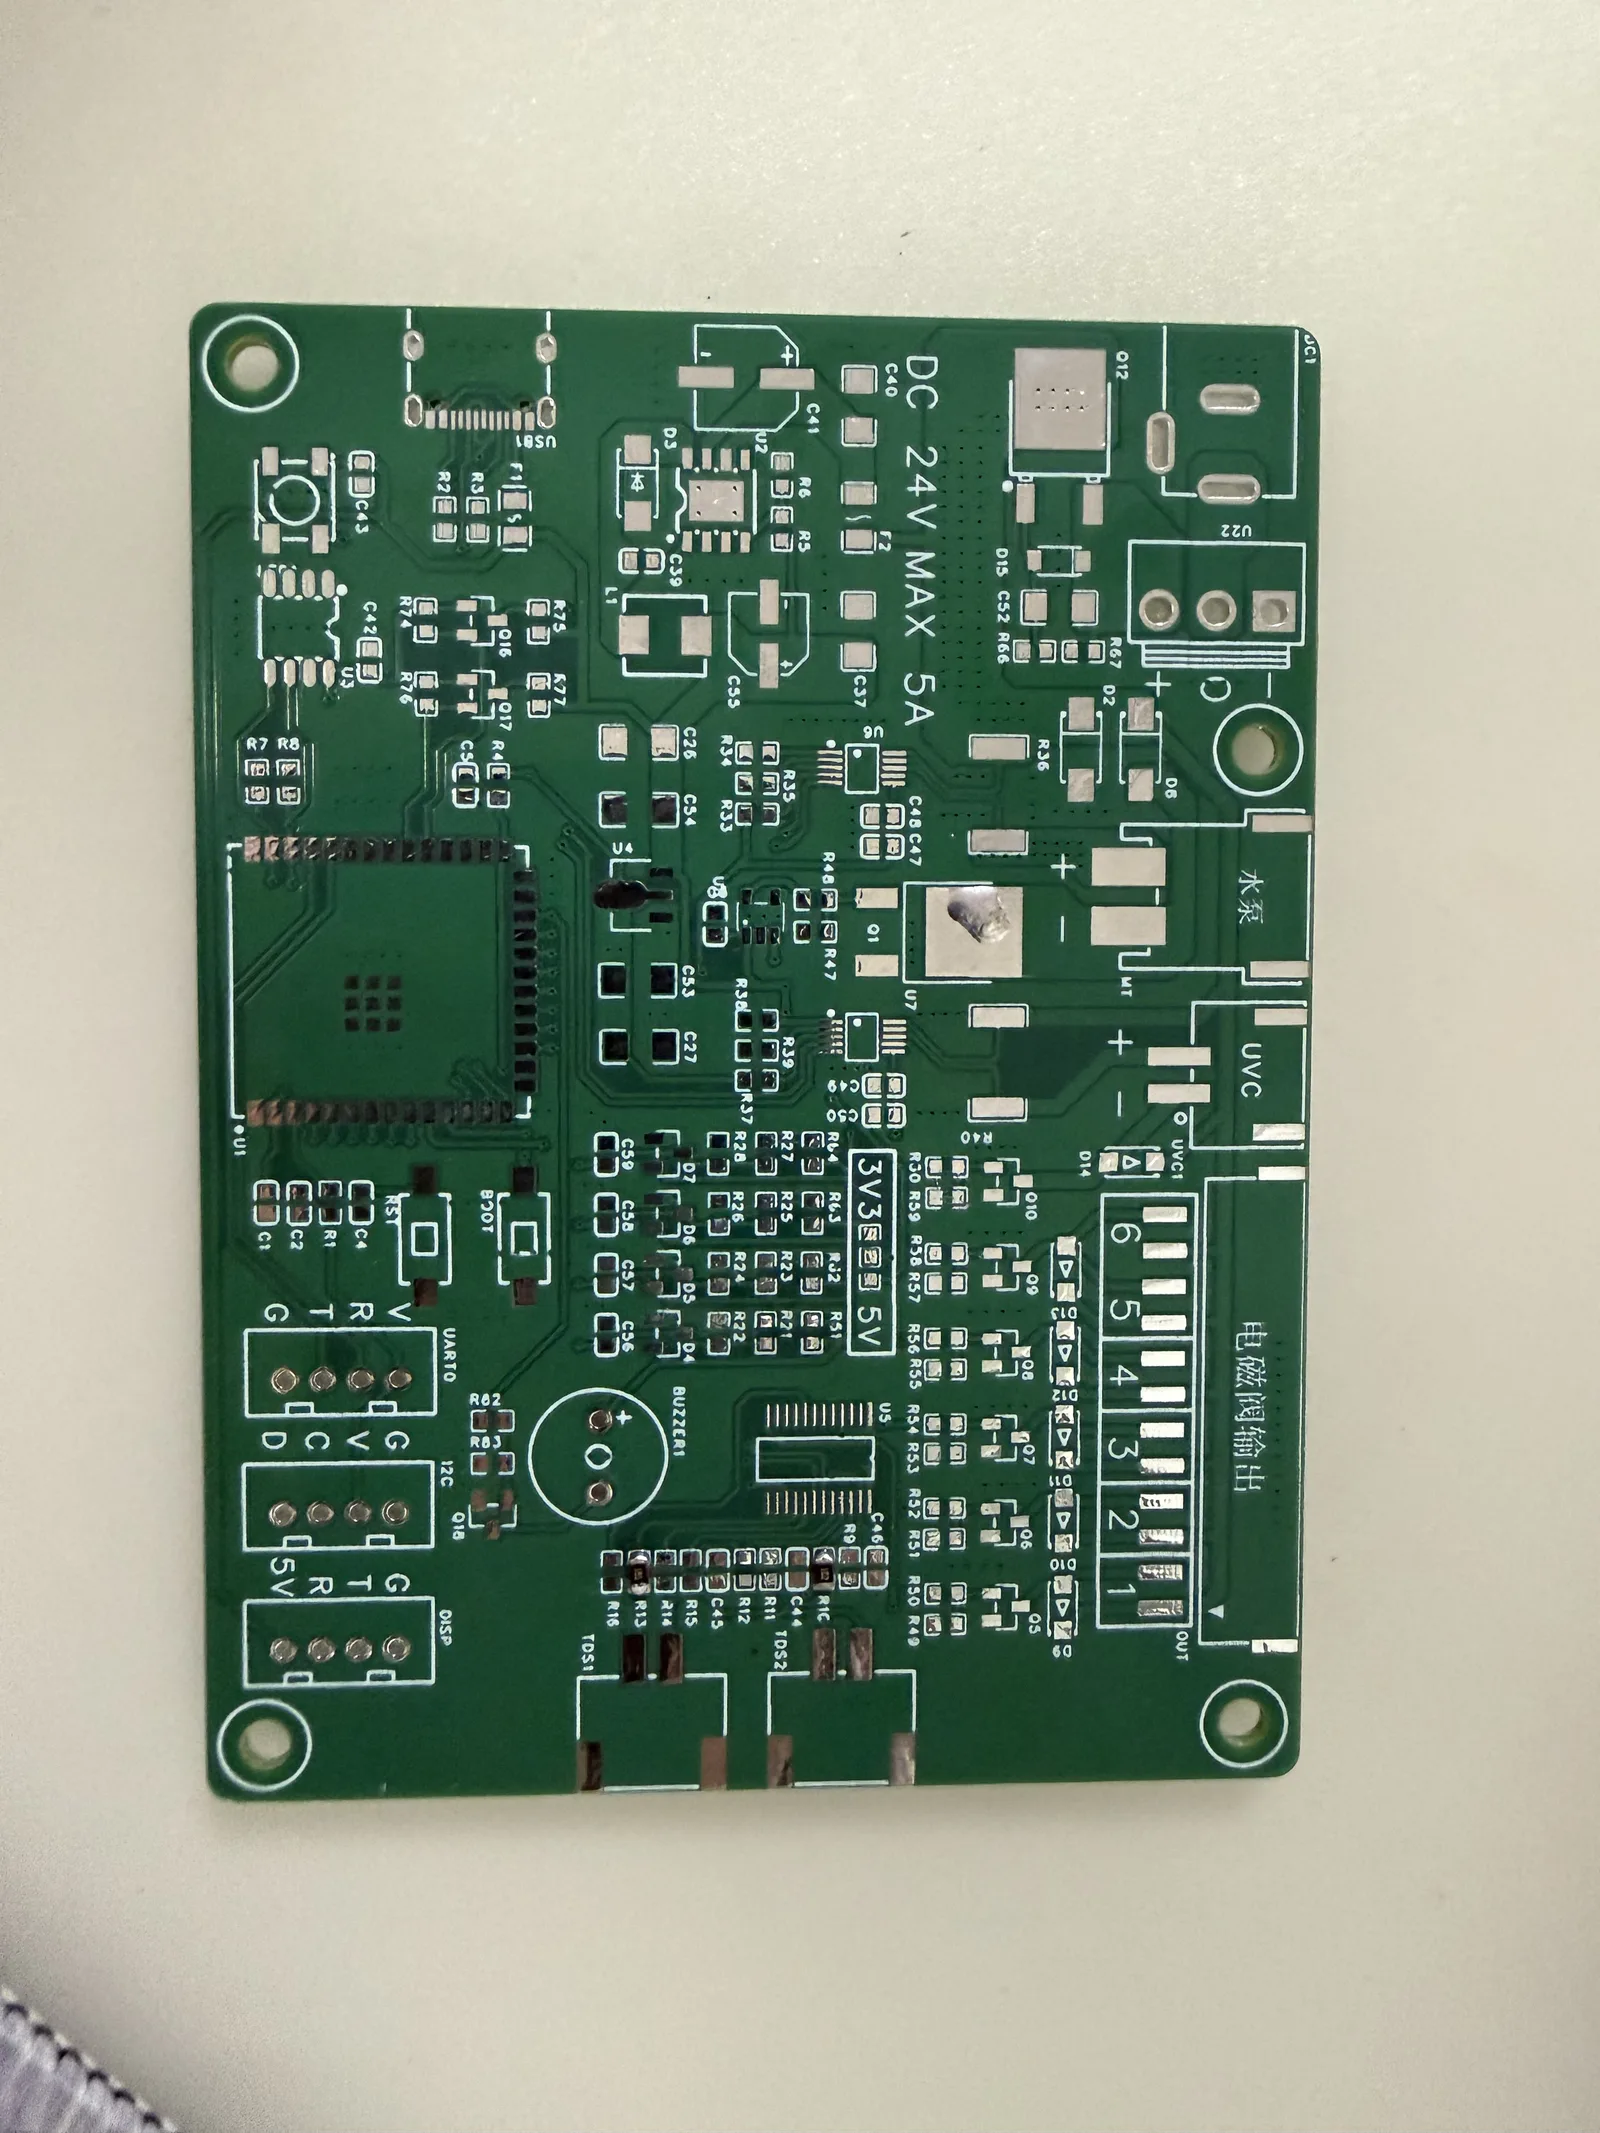
The new controller board, with assembly still in progress.
Once the hardware is ready, I want to find out what information I can read reliably, how to make it useful in Home Assistant, and how the controller behaves when the connection is unavailable. Those answers will come from testing the actual build.
This is the first project I’m sharing on Dusk Bench. I’ll document the assembly, the decisions I make in the firmware, and the results as I go. For now, I’ve got some soldering to finish.